
Monday, June 10, 2013
Final project and we get to choose whatever we want. I chose how to turn a photo into a pencil sketch. This is a tutorial that I've been wanting to try for some time and here was my chance. The link to the tutorial I used is here... https://www.youtube.com/watch?v=Gyu2yPwiQvA but there are many out there and they all seem to do the same thing just a bit different. This guy seemed to have his down to a simple format and he was easy to understand and follow. Below I will list the step I took to get my photo drawing.
Photoshop. 1. duplicate your layer. 2. change blend mode to color dodge. 3. Control I to invert the image. 3. Filter, Gaussian Blur and adjust to your liking. 4. Adjustment layer, hue and saturation. change saturation to 0. This should make your photo look like a sketch.
Art Deco
Art Deco. I love Art Deco. Such a classic style. When I got the assignment there were so many ideas running through my head. I really am attracted to the the art they were creating down in the south east, especially Cuba. I chose to do a more colorful poster.
 Solid colors, elongated lines and simplified features. There is definitely a handsome elegance about this style of art. It was a fun project and I love how it turned out.
Monday, June 3, 2013
Another Webpage- Slided and Diced
Old school web making. This technique uses a picture of what you want the webpage to look like and in Photoshop you can slice that page up and insert into Dreamweaver as a background. Seems simple but as always you have to have everything pretty precise and well, only use this if you have special circumstances. The green plumes on each side of my page are going to be buttons that navigate you to the other pages of my site. This will help me achieve those buttons... soon! It's turning out well. I'm liking it.

Card Dance
This is my Card Dance. It's a select group of photo's that are grouped together and put into After Effects. After Effects then slices them up and you can animate anyway you want. I chose a variety of flowers but I can see how using a variety of your work would be beneficial as an intro to a demo reel...
WordPress Website


Monday, May 20, 2013
Pebbles
This was a fun assignment. Edge Animate is a new motion graphics tool for the web from Adobe. We used Photoshop to create a word, Pebbles, and filled it with what the word is. Edge Anuimate has what is called a clipping mask that allows you to hide and show what you want with the click of a button. I have found that Edge Animate is very user friendly I likedit and like how "pebbles" turned out.


Drive Fast and Swerve
We learned how to use a game engine to create an HTML5 video game. I didn't want to do the monsters and bad guys so I made a car that shoots headlights and defers the bunnies from getting him. The object is for the car to avoid the bunnies. I think it turned out pretty good. It does what I want it to do and the software was pretty easy to use. There are millions of games you can make with it and would be worth making the investment.


Thursday, May 16, 2013
ROBS Email Newsletter
There is a lot more to all those emails that you get in your inbox whether you want them or not. They are actually each a web page. Surprised? I was. This is a project for a real client that came to class wanting a logo. We started with the logo and our instructor had an email newsletter planned so... TA-DA! Here you go. I had a problem finding how to link my photos and inserts with absolute links but it turned out and I'll need to go find the answers to what I need. I like how it turned out. Strong and simple.

PS... the photos are not mine. I borrowed them for the moment. I didn't have any construction photos of my own.
Monday, May 13, 2013
Template Webpage
Today I got to take a web template and do what ever I wanted with it. All the work is done for you by someone else and you get to play and do all the fun stuff. The top picture is how I changed it and the bottom picture is how I got it from a site off the web (for free).


I think mine is looking stronger and bolder than the original one. It stands out more and I like that. I'm very excited to get all the pages done and start spreading the news of my site.
I think mine is looking stronger and bolder than the original one. It stands out more and I like that. I'm very excited to get all the pages done and start spreading the news of my site.
Monday, May 6, 2013
This is Beginning to Feel Very Real.

This assignment we made a photo gallery using something called jQuery. We were to use all our own photos and add our logo. Pretty simple instructions, right? Well, what makes it really real is that this is the first page that I have made in a step towards my very own website. Not to mention that I have a logo for myself, that I actually think I like this time. I like the track I am on and will be venturing further into the world of jQuery and their other galleries and possibilities.
Good Morning Sunshine.
This assignment was done in After Affects (a digital motion graphics and compositing software by Adobe) It's a good program, there is a lot to it and I think I'll really like it once I've had more time to play with it. We had to animate shapes and add some music. Pretty simple. Getting used to the timing of how everything plays out will be something to understand in the future. When you play your animation back while working on it, it doesn't always play at "real time". To see it in real time you have to render it out and this little animation is taking 25 minutes to render as we speak. You can see the dilemma but I will get the hang of it.
Monday, April 29, 2013
little letters and some extras
To finish off last weeks assignment here are the lowercase letters, numbers and a few special characters. I think it turned out OK but what I found is that there are a lot of little things that you have to be mindful of and that what you put into the font creator isn't necessarily what you get out. Creating fonts will be fun and useful in the future, especially now that I am aware of some of those little things.


Sunday, April 21, 2013
BIG LETTERS
Another exciting assignment for me. I've always wanted to know how to design and create my own fonts. I have to admit this was not the style I had planned out for myself but due to the learning curve I think it turned out pretty well. First you have to set up each letters design in Illustrator and then using Font Creator (one of many programs out there) it creates your letters and sets them up into a "True Type" file so you can down load them to use in any document. Voila! a font set.


It's All In the Eyes
I loved this assignment and have been hoping/waiting for this to come along. We had to create a piece of art only using a drawing tablet (and it's pen). We had complete control over what we did and we could use either Illustrator or Photoshop. I chose Photoshop and my girl, Caley's eyes. I love to draw eyes.
 I found it pretty easy to layer light layers of opacity's of color on top of each other to build and blend the effects that I wanted. I will definitely use this again and again. And, it was a good introduction to using the pen/tablet that I've owned for 2+ years... feels good.

Retro Vinyl with a Modern Twist
There is nothing like livening up something from the past. We had to make a vinyl sticker using, of course vinyl sheets and a machine called a Roland CutStudio. Below you will see the art work I did... I love it! It's going to be placed on a toy box that was built for my husband Eric and his brother Jeff when they were very young and now has been passed down to our son Jack. This toy box was hand made and was covered with hand cut vinyl decals which are mostly worn away. I thought it appropriate to rename it for Jack and I will post pictures after I turn it in to be graded.


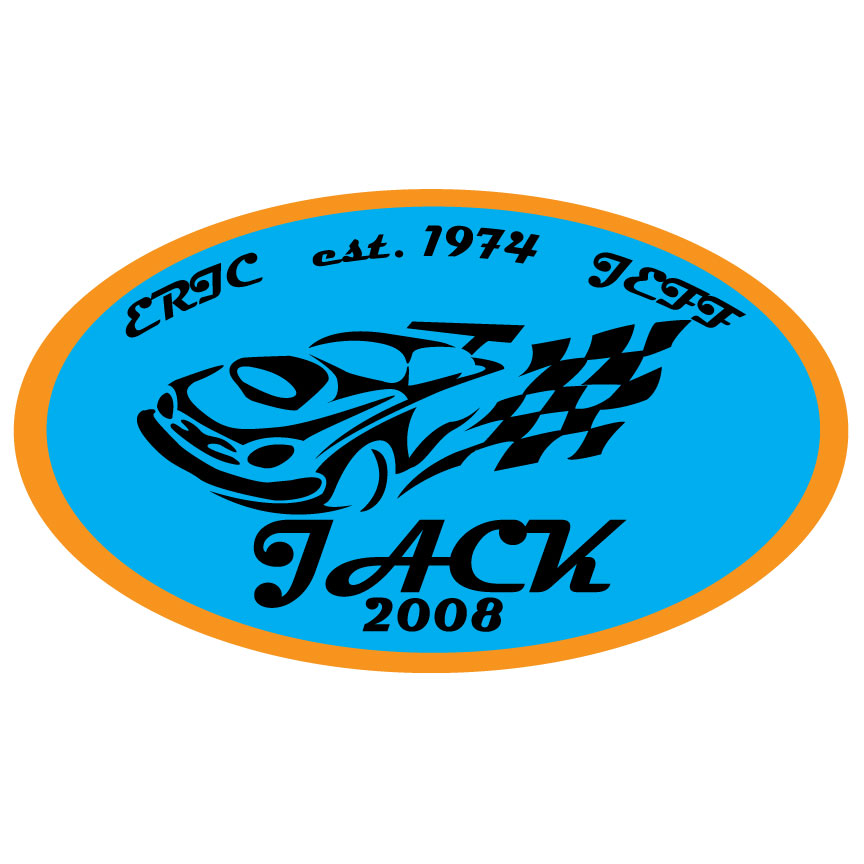
It was a fun assignment, well, it was after I figured out what I was going to do and where I was going to put it. The small pieces and lines were a little tricky to pull out of the vinyl but when I used the printer with the newer or less used blade everything came out great.
As Promised...
As you can see this toy box has seen a lot of fun. Here is the final resting place of the vinyl sticker. Front and center of the toy box, exactly where Jack picked out, ready for another 39 years of fun.
Monday, April 15, 2013
Anyone Up For A Card Game
These designs are for a card game being designed by our school called "The Wall", designed by our instructor, Brian Martin. I was to design a wall card, damage card, reconstruction card and the back of the card. I used illustrator to design these and could only use vector art which means everything you see is a solid color. I couldn't use any special effects.


I think they all turned out well. I like the colors of the bricks and there is good continuity in the design. It will be interesting to see what they are look like when they are printed. I will post a pic when I get them back.
I think they all turned out well. I like the colors of the bricks and there is good continuity in the design. It will be interesting to see what they are look like when they are printed. I will post a pic when I get them back.
Monday, April 8, 2013
A Beautiful Rainy Day
Me and My Art
My name is Christina Olson, I'm a design student at Pierce College in the Digital Design Program.
Be sure to check out my new artwork. I will post my assignments here and show the world my skills.
I am a Wife and Mom of 3 great kids. We love the outdoors, gardening and art.
I have been an artist since I was a freshman in high school. I love drawing and painting. I have also attended the Art Institute of Seattle and have a degree in Interior Design. I look forward to what I will learn in this program and what the future holds.
 |
| Expressionism- Photoshop |
Subscribe to:
Posts (Atom)